




Bread Slicer Guide: Manual vs Electric Options
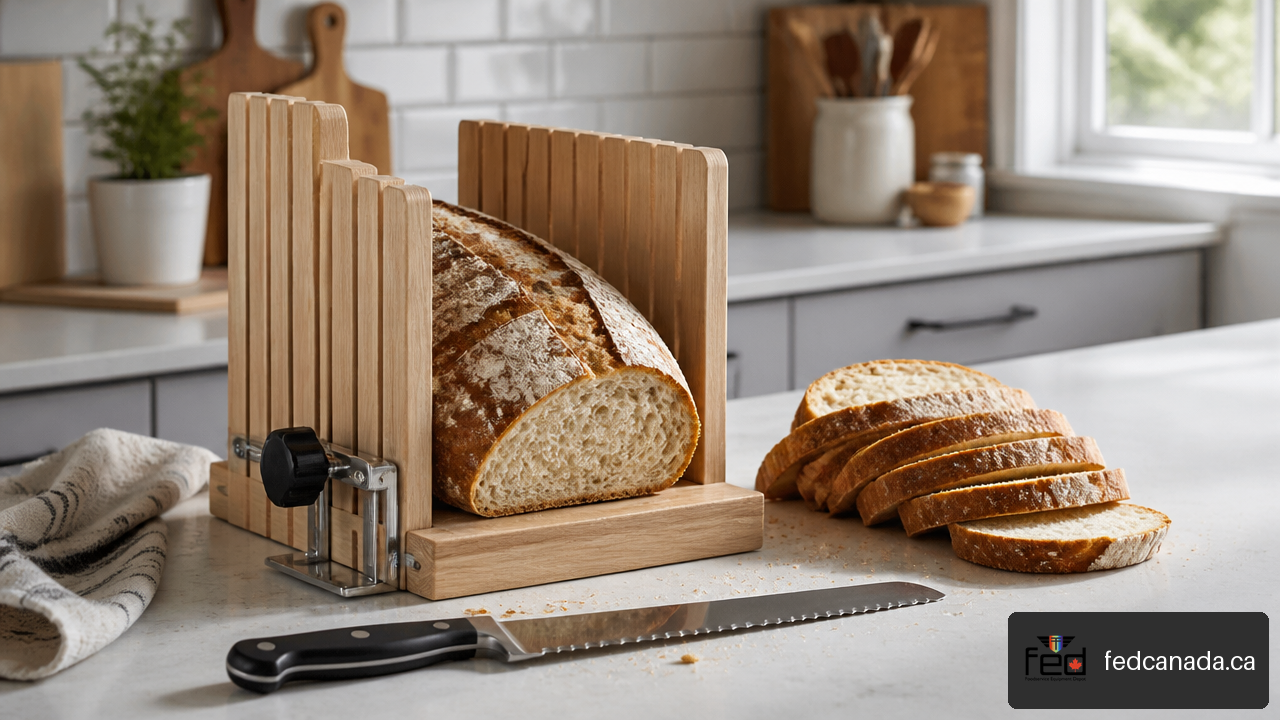
A Bread Slicer can make homemade loaves easier to portion, package, toast, and serve. The right option depends less on whether it looks sophisticated and more on the bread you bake, the space you have, and how many loaves you need to slice at once. A compact guide may be enough for one sandwich loaf a week. A powered slicer may make sense when repeated, consistent slicing is part of a bakery, café, deli, or catering workflow.
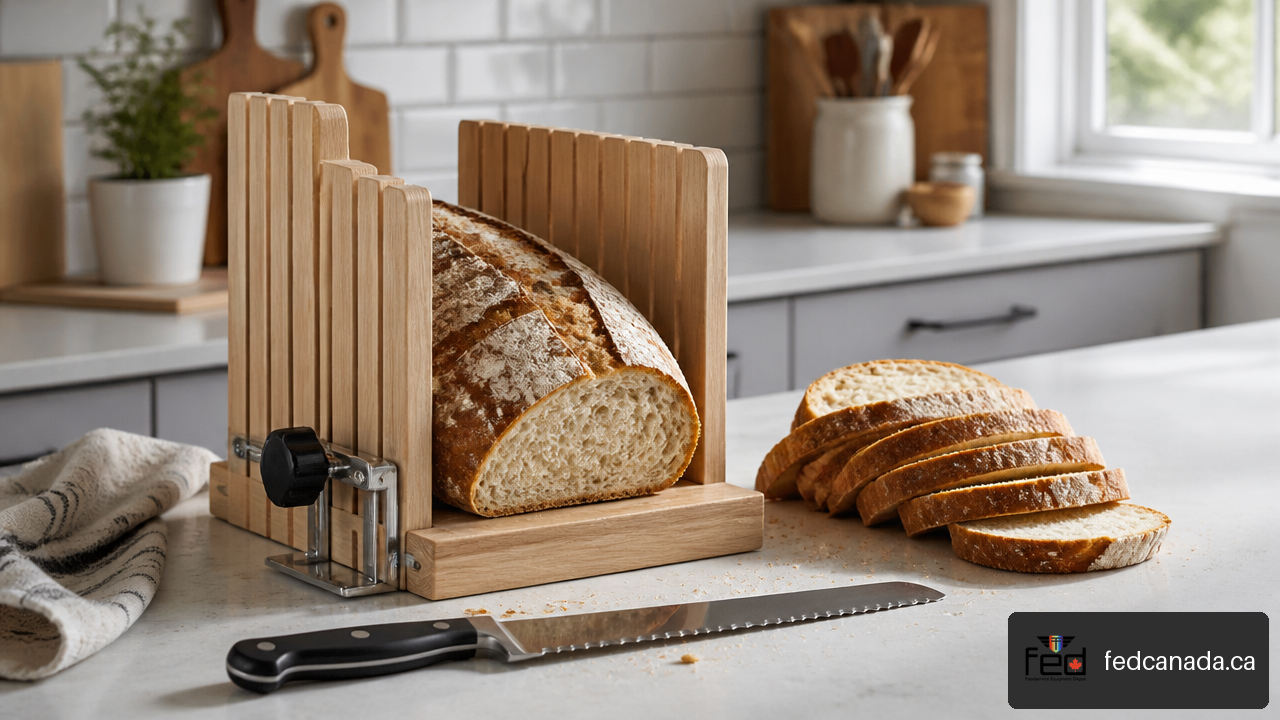
Table of Contents
- How a Bread Slicer Works
- Manual vs Electric Bread Slicer Options
- Measure Your Loaf Before Buying
- How to Slice Different Bread Types
- Safety, Cleaning, and Maintenance
- Key Takeaways
- FAQ
- Sources and References
How a Bread Slicer Works
A bread slicer controls the relationship between the loaf and the cutting edge. Instead of estimating each slice by eye, it uses a guide, slot, fence, carriage, or blade position to hold a more repeatable slicing thickness. That consistency matters for more than appearance. Thin slices toast faster, thick slices support heavier fillings, and similarly sized portions are easier to package or portion for service.
Manual and electric units achieve this in different ways. A manual bread slicer generally holds the loaf in a channel while you move a serrated bread knife through fixed or adjustable slots. Some units include an integrated blade or a hand crank mechanism. An electric slicer uses a motorized circular blade and a movable carriage or product holder to feed the bread across the blade.
The cutting mechanism matters
Bread is structurally awkward to cut. A crisp crust resists the blade while the crumb underneath can compress, tear, or stick. A serrated edge is useful because its teeth bite through the crust in small increments rather than forcing one smooth edge downward through the loaf.
A slicing guide does not make a dull knife sharp. It only controls the angle and spacing. If the knife is dull, too short, or pushed straight down with heavy pressure, soft bread can still crush. Likewise, a powerful electric machine does not automatically guarantee a clean cut. Blade type, loaf support, crumb buildup, and feed speed still affect the result.
What “consistent slices” should mean at home
There is no universal household standard for slice thickness repeatability. I recommend setting a practical target based on how you use the loaf instead of chasing a perfect measurement. For example, if slices are visibly uneven enough that one burns in the toaster while the next stays pale, the setup needs adjustment.
A simple repeatable check is useful:
- Slice five consecutive pieces from the center of a cooled loaf.
- Stack them on a flat board with the crust edges aligned.
- Check whether the stack slopes sharply or whether individual slices vary enough to affect serving, toasting, or sandwich assembly.
- If the result is inconsistent, inspect the guide spacing, knife angle, loaf stability, and blade sharpness before replacing the slicer.
A bread slicer improves control. It does not remove the need to match the blade, loaf condition, and slicing method.
Where a slicer fits in food preparation
For commercial baking, slicing is usually one step in a larger production sequence. Dough portioning and shaping influence the final loaf geometry, which then affects slicer fit. A Manual Dough Divider can help create more consistent dough portions before baking, while a Dough Sheeter supports uniform dough thickness for products such as flatbreads, pastries, and pizza dough.
Those tools do not replace a bread slicer, but they illustrate an important point: repeatable results start before the loaf reaches the cutting station.
Manual vs Electric Bread Slicer Options
Choose a manual bread slicer when storage, price, and occasional use matter most. Choose an electric slicer when volume, reduced hand effort, and repeatable output matter more than counter space and cleaning time.
The comparison is not simply “basic versus advanced.” Each option has a different ownership burden.
| Feature | Manual bread slicer or guide | Electric bread slicer or deli slicer |
|---|---|---|
| Cutting power | Hand driven with a bread knife or integrated blade | Motor driven circular blade |
| Best use | Occasional home loaves and compact kitchens | Frequent slicing and higher volume tasks |
| Slice control | Determined by guide slots or adjustable spacing | Determined by fence or thickness control |
| Storage | Often foldable or easy to store | Usually requires dedicated counter or shelf space |
| Cleanup | Crumbs and removable guide parts | Crumbs, carriage, blade area, and safety components |
| Noise | Quiet | Motor noise during use |
| Main limitation | Requires good knife technique and stable setup | Requires stricter guarding, cleaning, and safe handling |
Manual slicers and slicing guides
Manual designs range from simple folding frames to fixed wooden or plastic guides, hand crank tools, and models with built in serrated blades. They suit regular pan loaves particularly well because the bread has predictable sides and fits cleanly between guides.
Canadian marketplace listings show that bread slicers are available in adjustable, foldable, manual, and bread specific formats, as shown in Best Buy Canada’s food slicer category. Separate Canadian listings also include compact, adjustable, manual, and hand crank bread slicers in its bread making tools selection.
A manual option is usually the sensible starting point if you bake one or two loaves at a time and already own a quality serrated bread knife. It is also easier to store than a full appliance. The tradeoff is that your hands still provide the cutting force and motion. That means blade quality and stable positioning matter a great deal.
Community discussions underline that limitation. In one BreadMachines discussion about compact manual slicers, users reported adjustable thickness, manual operation, compact storage, and concerns about units moving during use. That is useful real world feedback, but it is anecdotal rather than controlled product testing.
Electric bread and deli slicers
Electric slicers reduce repetitive hand cutting by rotating a blade while the operator guides the bread on a carriage. They can be useful for businesses slicing multiple loaves for sandwiches, toast service, retail display, or freezer portions. They are also attractive for a home kitchen that batches bread for freezing.
Still, a deli slicer is not automatically a bread slicer. Many are designed first for meat and cheese. Bread performance depends on blade suitability, carriage clearance, and whether the product holder can secure an irregular loaf without crushing it.
A Commercial Meat Slicer may be relevant for operations that need one machine for several slicing tasks, but it should be evaluated carefully before assigning it to artisan bread. Confirm the available loaf clearance, blade type, guard design, cleaning procedure, and whether the loaf can remain supported throughout the cut.
Users in a Sourdough discussion about deli slicers and large loaves noted serrated deli slicers, loaf size limits, and durability concerns. The practical implication is clear: an electric model can be productive, but a small unit may be a poor fit for a wide boule or tall sourdough even if it technically has an adjustable thickness control.
The total ownership burden
Purchase price is only one part of the decision. Consider these costs and constraints together:
- Setup time: A folding guide may take seconds to position, while an electric slicer requires placement, safe assembly, and cleaning after use.
- Storage footprint: A slicer that cannot be stored conveniently may be used less often than a knife and guide.
- Blade upkeep: Manual tools rely on the bread knife condition. Electric models add blade cleaning, inspection, and potential replacement.
- Crumb management: Crumbs can scatter under a guide or collect around a machine’s carriage and blade guard.
- Noise and workflow: A powered slicer may be efficient in a prep area but intrusive in a quiet household kitchen.
I would avoid buying an electric model solely because it seems faster. If you slice one loaf weekly, the extra cleaning and storage can outweigh the time saved. If you slice several loaves daily, manual cutting can become the bottleneck.
Measure Your Loaf Before Buying
The most common compatibility mistake is buying a slicer based on its stated slice thickness while ignoring loaf clearance. Thickness tells you how wide each slice can be. Clearance tells you whether the whole loaf can enter the guide or carriage in the first place.
Use a four measurement fit check
Measure a typical fully baked loaf, not the pan size or dough weight. Use the largest loaf you realistically expect to slice.
| Measurement | What to measure | Why it matters |
|---|---|---|
| Length | End to end across the loaf | Determines whether the loaf can rest securely in the channel or carriage |
| Width | Side to side at the widest point | Determines whether side guides or the product holder can accommodate it |
| Height | Base to highest point | Determines clearance under guards, blade housings, or top rails |
| Shape variation | Dome, oval profile, ears, or irregular crust | Shows whether a guide designed for square loaves will bind or leave the loaf unsupported |
For instance, a standard sandwich loaf may fit neatly into a narrow guide, while a round sourdough boule may be too wide at its center even when its overall length appears compatible. Measure the widest point, not the most convenient point.
Test stability before committing to the tool
Lightweight slicers can slide, tip, or flex. You can assess stability at home before slicing a finished loaf:
- Place the empty slicer on the actual work surface you plan to use.
- Apply gentle forward, backward, and side pressure where the loaf and knife would normally contact it.
- Check whether the base shifts, the side rails spread, or the guide twists.
- Repeat with the loaf inside, using the same slow sawing motion you would use for cutting.
If it moves, stop and correct the surface first. A non slip mat or damp towel beneath a lightweight guide may reduce movement, a workaround also mentioned by users in the BreadMachines thread. It is not a substitute for a stable design, especially when a sharp knife is involved.
Check electric requirements in Canada
For electric equipment, confirm the product’s voltage, plug format, warranty coverage, return terms, and availability of replacement blades or parts before ordering. Product listings can vary by seller, and a listing’s presence in Canada does not by itself establish long term parts support or certification details.
For a foodservice operation, also consider who will clean the unit, where it will sit, and whether staff can follow the manufacturer’s operating instructions consistently. A machine that fits the loaf but disrupts sanitation workflow may not be the right machine.
How to Slice Different Bread Types
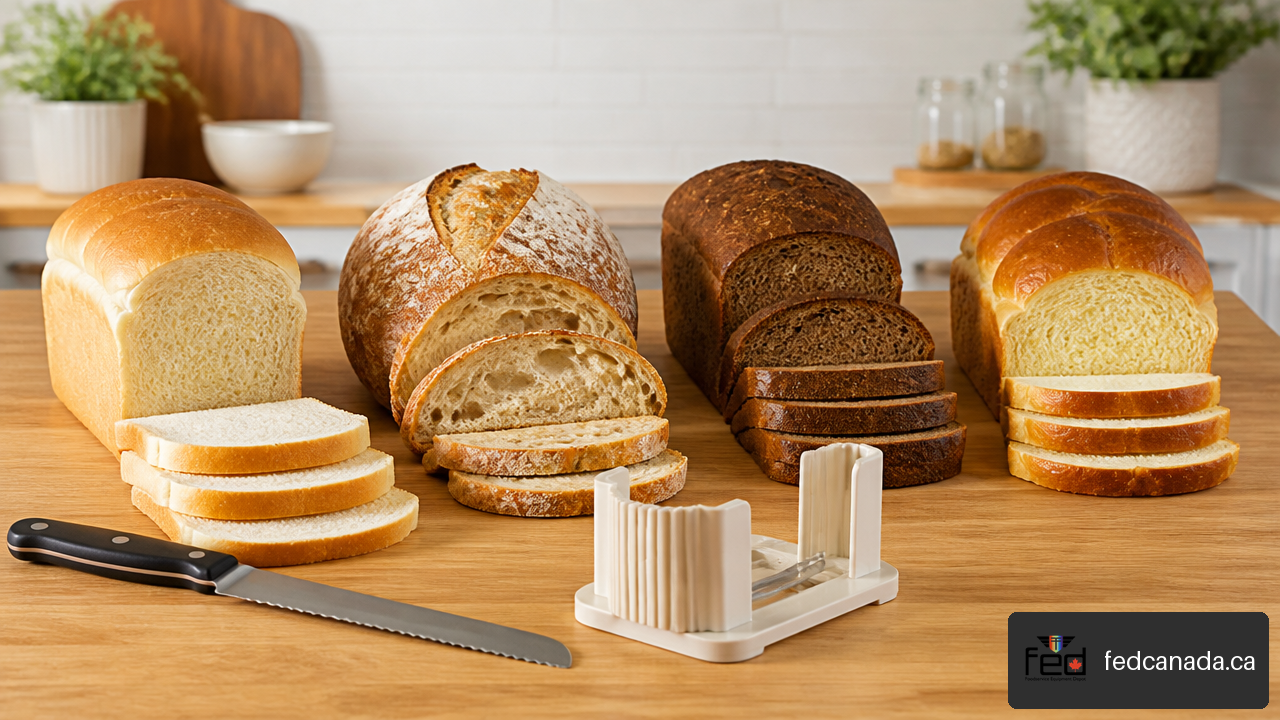
Bread type changes the best approach. The key variables are crust firmness, crumb softness, loaf shape, moisture level, and temperature.
Match the method to the loaf
| Bread type | Recommended approach | Common failure mode |
|---|---|---|
| Soft sandwich loaf | Manual guide with a sharp serrated knife or suitable electric slicer | Compression from pressing down too hard |
| Crusty sourdough | Long serrated knife, wide clearance guide, or capable serrated slicer | Loaf does not fit small guide; crust fractures unevenly |
| High hydration artisan loaf | Slice only when fully set and supported | Fragile crumb tears or sticks to the blade |
| Dense rye | Use deliberate sawing strokes and stable support | Narrow slices crumble if the blade drags |
| Brioche | Use a very sharp serrated blade and minimal pressure | Rich, soft crumb squashes easily |
| Bagels | Use a stable guide or careful knife technique | Rounded shape rolls during cutting |
| Cake like quick bread | Use a dedicated cake knife or very gentle slicing motion | Warm or delicate crumb tears rather than slices |
Let the loaf reach a sliceable condition
Freshly baked bread often feels irresistible, but slicing too early can compress the interior and leave residue on the blade. The exact cooling time depends on loaf size, formula, and room conditions, so a fixed number of minutes is not reliable for every bake.
A practical test is to check whether the loaf still feels notably warm and steamy at the center. If it does, wait. For example, a large high hydration sourdough may need substantially more time to set than a smaller sandwich loaf. A fully cooled loaf generally gives the guide and blade a better chance of producing clean, intact slices.
For freezing, slice the bread once it is fully cool, separate slices if needed, and package promptly. Community users in a Breadit discussion comparing knives and electric slicers described using electric meat slicers for bread and freezing sliced portions. That is a practical use case, though individual machine suitability still varies.
Why a loaf crushes or tears
Crushing usually comes from a combination of force and insufficient cutting action. The blade should saw through the crust, not press the loaf downward. Tearing can also happen when the knife is too short for the loaf, the serrations are dull, or the bread is still warm.
Try this recovery sequence:
- Stop applying downward pressure.
- Verify that the loaf is fully cooled and not sitting on an unstable surface.
- Use longer, lighter sawing strokes.
- Clean crumbs from the guide slots and blade.
- If slices still tear, switch to a sharper or longer serrated knife before blaming the slicer frame.
Safety, Cleaning, and Maintenance
Bread slicers look simple, but sharp edges and repetitive motion deserve attention. Safety is especially important when a compact guide moves across the counter or when an electric slicer is used by multiple people.
Safe operating habits
- Place the slicer on a dry, level, non slip surface.
- Keep fingers behind the knife path and use the slicer’s pusher or product holder when provided.
- Do not force a loaf that exceeds the unit’s clearance.
- Keep children away from the setup, particularly folding frames and motorized slicers.
- Turn off and unplug an electric unit before cleaning, adjusting, or clearing trapped crumbs.
- Follow the manufacturer’s instructions for blade removal and guard handling rather than improvising.
Clean crumbs before they become a problem
Crumbs affect both hygiene and performance. On a manual guide, they can accumulate in slots and prevent the loaf from sitting squarely. On an electric slicer, they may collect around the carriage, blade guard, and thickness control area.
For routine cleaning, brush or wipe away loose crumbs after each use. Wash removable food contact parts only as the manufacturer permits, then dry them thoroughly before reassembly. Avoid soaking components that contain wood, hinges, electrical parts, or materials not intended for immersion.
Maintain the blade and the guide
Inspect a manual guide for cracked rails, loose hinges, widening slots, and unstable feet. Inspect an electric slicer for a securely mounted blade, functional safety guard, smooth carriage travel, and a fence that holds its selected thickness.
A serrated knife should cut with a gentle sawing action. If you need force, the knife may need professional sharpening or replacement. Electric blade servicing should follow the equipment manufacturer’s guidance. There is no reliable universal blade replacement interval because usage, bread type, cleaning practices, and blade material differ widely.
Key Takeaways
- A Bread Slicer is most useful when you need repeatable portions, cleaner sandwich assembly, or faster loaf preparation.
- Manual guides suit occasional home use, compact storage, and regular shaped loaves when paired with a sharp serrated bread knife.
- Electric slicers suit higher volume work but require more space, cleaning, training, and careful loaf compatibility checks.
- Measure loaf length, width, height, and shape variation before selecting any guide or electric slicer.
- A slicer cannot overcome a warm loaf, a dull blade, an unstable counter, or a loaf that is too large for its clearance.
- For irregular sourdough and soft brioche, blade quality and gentle technique are often as important as the machine itself.
FAQ
Is a bread slicer better than a serrated bread knife?
Not always. A bread slicer is better when repeatable slice thickness and guided cutting are your priorities. A long serrated bread knife is often better when storage is limited, loaves are unusually shaped, or you need flexibility for many bread sizes. The strongest setup for many households is a sharp knife plus a stable guide.
Are manual or electric bread slicers better for homemade bread?
Manual models are usually better for occasional homemade bread because they are smaller, quieter, and simpler to clean. Electric models become more attractive when you slice several loaves at once, portion bread for freezing, or need a faster prep workflow. Choose based on volume and loaf fit, not motor power alone.
What bread slicer works best for sourdough?
A wide clearance guide paired with a long serrated knife works well for many sourdough loaves. For high volume slicing, an electric machine may work if it has enough clearance, suitable blade design, and secure loaf support. Avoid narrow guides designed only for square sandwich loaves when you bake wide boules or tall batards.
Can a deli meat slicer safely slice bread?
It can be suitable when the manufacturer permits the use, the blade and carriage support bread properly, and the loaf fits safely within the machine. It can be a poor choice for loose, oversized, or irregular loaves that cannot be held securely. Never hold bread by hand near a moving blade.
How thick can a bread slicer cut?
Thickness depends on the specific slicer. Fixed guides provide only their built in slot spacing, while adjustable models offer more flexibility. Check the manufacturer’s stated range, then consider whether you need thin toast slices, standard sandwich portions, or thick café style cuts.
Why does my bread slicer crush or tear the loaf?
The common causes are slicing bread before it has cooled, using a dull blade, pressing down instead of sawing, and using a guide that does not support the loaf firmly. Start by cooling the loaf completely, cleaning the tool, and using a sharp serrated knife with light, long strokes.
How can I stop a lightweight bread slicer from sliding?
Use it on a stable, dry counter and test it before cutting. A non slip mat or damp towel underneath may help reduce movement, but do not continue if the frame tips, flexes, or shifts significantly. A stable slicer is safer and produces straighter cuts.
Sources and References
- Best Buy Canada — Food Slicers — https://www.bestbuy.ca/en-ca/shop/home-living/food-slicers
- Best Buy Canada — Bread Making Tools — https://www.bestbuy.ca/en-ca/shop/appliances/bread-making-tools
- Reddit r/BreadMachines — Bread Slicer — https://www.reddit.com/r/BreadMachines/comments/1i1ljtq/bread_slicer/
- Reddit r/Sourdough — Bread slicers — https://www.reddit.com/r/Sourdough/comments/1ndagze/bread_slicers/
- Reddit r/Breadit — Breads slicer? — https://www.reddit.com/r/Breadit/comments/1irttc4/breads_slicer/
Recent Posts
Leave a Comment
Your email address will not be published. Required fields are marked *