



Burger Presses & Patty Makers: Commercial & Home Guide
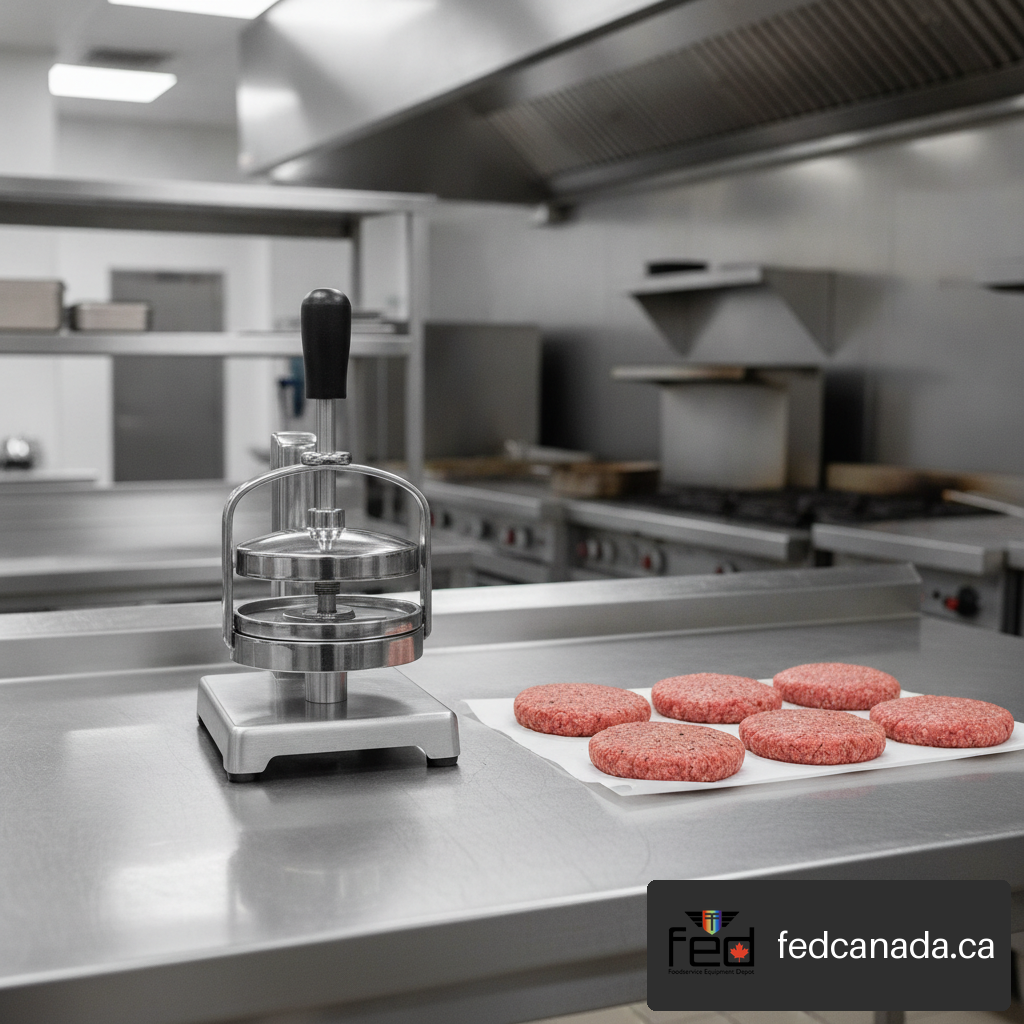
Selecting the ideal burger press transforms raw ground meat into uniformly shaped, evenly cooked patties, whether you run a high-volume commercial kitchen or cook at home. While hand-shaping ground beef remains common, relying solely on manual pressure introduces variations in thickness, density, and cooked diameter. These inconsistencies lead to uneven cooking times, dry edges, raw centers, and mismatched bun coverage. A dedicated patty maker or griddle press standardizes portioning, improves thermal contact on flat-top cook surfaces, and speeds up batch preparation.
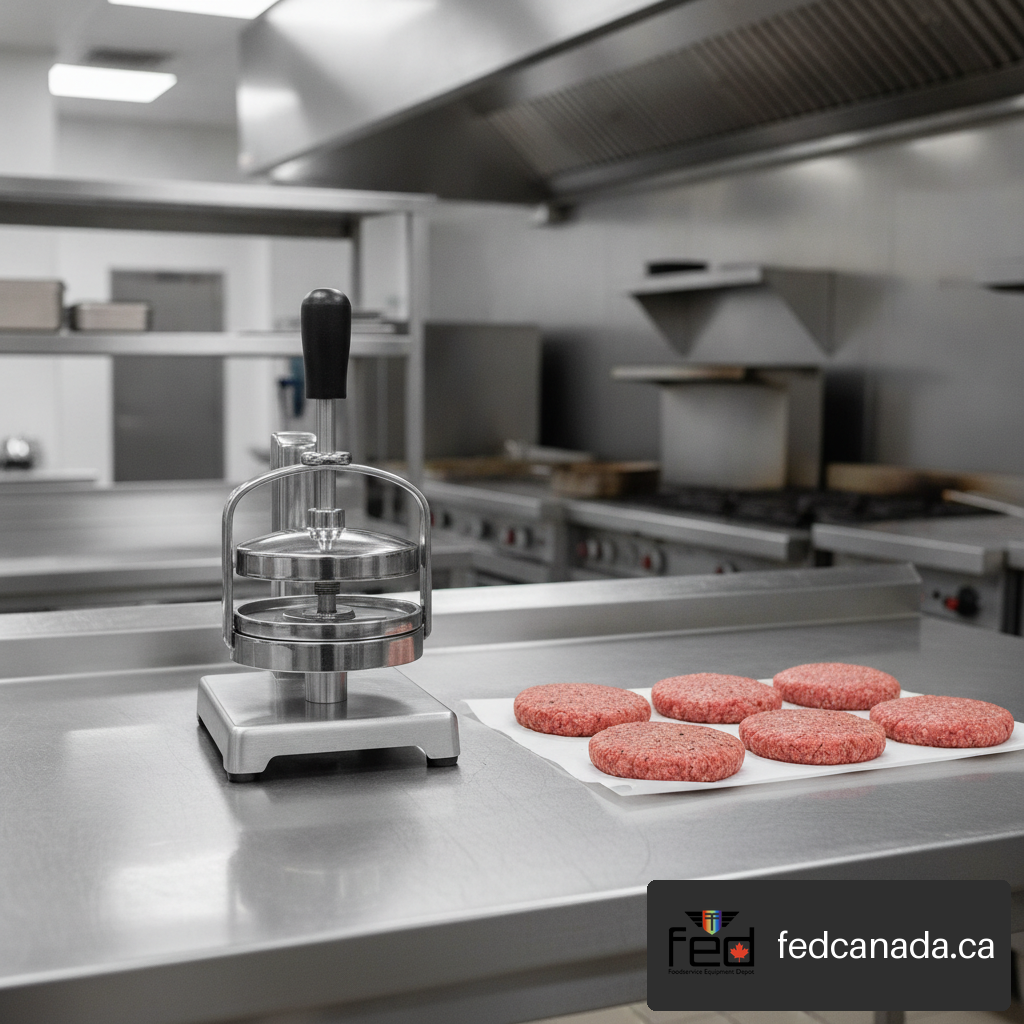
Table of Contents
- Key Takeaways
- Patty Molds vs. Griddle Presses: Core Mechanical Differences
- Sizing, Thickness Control, and Bun Coverage
- Materials, Coatings, and Patty Release Mechanisms
- Kitchen Integration, Grinding, and Sanitation
- Frequently Asked Questions
- Sources and References
Key Takeaways
Tool Distinction: Patty molds are cold-prep tools designed to shape raw meat before cooking, whereas heavy-gauge griddle presses are designed for high-heat compression directly on a griddle or plancha.
Portion Accuracy: Adjustable patty presses enable precise weight control, typically spanning from 1/4 lb (113 g) to 3/4 lb (340 g), which ensures predictable cook times and accurate food costing.
Bun Alignment: Meat shrinks by roughly 10% to 25% during cooking depending on fat content; presses must form raw patties 0.5 to 1 inch wider than the target bun diameter to avoid undersized burgers.
Release Efficiency: Raw ground meat adheres easily to unlined metal or plastic cavities. Utilizing removable bottom plates, patty paper liners, or light oil prevents tearing during extraction.
Sanitation Standards: Smooth stainless steel and cast aluminum components resist grease accumulation and withstand frequent disassembling and dishwashing.
Patty Molds vs. Griddle Presses: Core Mechanical Differences
When evaluating meat shaping equipment, the term "burger press" refers to two distinct functional categories: cold-prep patty molds and hot-surface griddle presses. Confusing these two tools is a common mistake when outfitting a kitchen.
Cold-prep patty molds shape raw ground meat into uniform disks prior to cooking. You place a measured portion of seasoned ground meat inside a cylindrical cavity, lower a top plunger or plate, and apply downward force. The enclosure forces the ground meat to fill the mold, forming consistent edges and controlled thickness. These tools operate off the heat source and focus on prep-table efficiency, portion control, and bulk storage readiness.
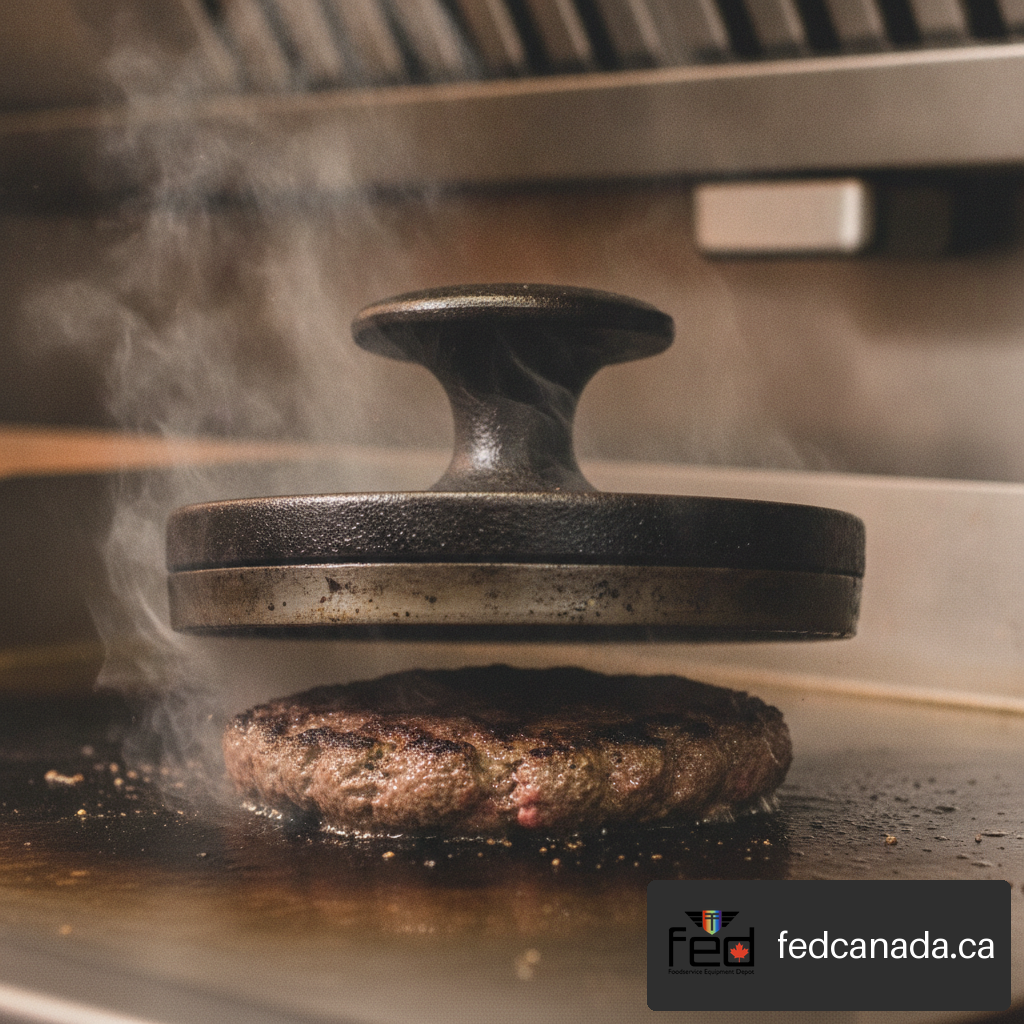
In contrast, a smash-burger press or griddle weight is used directly on a hot cooking surface. For instance, a flat Krampouz stainless-steel press is engineered to compress meat directly on a hot plancha for smash burgers while handling other foods like bacon and sandwiches. These heavy-duty weights maximize surface area contact between the meat and flat-top grill, accelerating heat transfer to build an even, caramelized crust via the Maillard reaction. Using a plastic or light-duty cold patty mold on a 400°F (204°C) griddle would ruin the tool and contaminate the food. Conversely, pressing a cold ball of meat with a heavy griddle weight on a cutting board will yield an unconfined, irregular freeform patty rather than a clean, uniform cylinder.
+-----------------------------------------------------------------------------------+ | PATTY FORMING TOOL SELECTION | +------------------------------------+----------------------------------------------+ | COLD PATTY MOLDS (PRE-COOK) | HOT GRIDDLE PRESSES (ON-SURFACE) | +------------------------------------+----------------------------------------------+ | • Used at prep stations | • Used directly on griddles and planchas | | • Creates standardized cylinders | • Maximizes contact area for crust creation | | • Precise weight & depth limits | • Manually controls smash thickness | | • Requires release liners/plates | • Uses heavy metal for heat distribution | +------------------------------------+----------------------------------------------+
Cold-Forming Patty Molds
Patty molds range from compact single-cavity manual presses to multi-cavity slider units and heavy commercial lever-operated presses. The core function of a mold is air displacement and dimensional consistency. When ground meat is loosely packed by hand, internal air pockets create inconsistent thermal conductivity. As the moisture inside these pockets expands during cooking, the patty buckles or splits.
A mechanical press exerts uniform vertical force across the entire surface of the patty. This levels the top and bottom faces, compressing ground muscle fibers into a continuous matrix. However, care must be taken regarding over-compression. Applying excessive mechanical force pushes free moisture out of the meat matrix and tightly binds proteins, producing a rubbery, dense texture once cooked. The goal of a patty mold is setting the shape—not compacting the meat into a solid brick.
Specialized molding kits expand standard single-patty production. For example, the Napoleon Gourmet Burger Press Kit incorporates a removable bottom plate, nonstick surfaces, adjustable patty formats, stuffed-burger functionality, and a two-patty slider press. Stuffed-burger attachments use a smaller top insert to depress a central cavity into the raw meat. After adding fillings like cheese or sautéed onions, a secondary thin meat disc is pressed over the top to seal the perimeter.
Hot Griddle & Plancha Presses
Hot-surface pressing requires heavy materials like cast iron, heavy-gauge stainless steel, or anodized aluminum. When a ball of cold ground beef hits a hot griddle, immediate downward pressure flattens the meat into a thin sheet. This maximizes direct thermal contact, causing surface moisture to evaporate rapidly and allowing thermal searing to take place.
Timing is critical during hot-surface pressing. Pressure must be applied within the first 10 to 15 seconds after placing the meat on the steel. During this initial window, the fat remains solid enough to resist instantaneous render, allowing the meat to be smashed without squishing out intracellular liquids. Once the patty warms and cooking accelerates, pressing down forces out rendered fat and trapped juices, drying out the burger. Smash-burger presses feature flat or lightly textured undersides, wide handles for solid hand positioning, and sufficient mass (typically 1.5 to 3 lbs) so that gravity assists the chef during peak service hours.
Sizing, Thickness Control, and Bun Coverage
Choosing the right press dimension requires balancing raw meat weight, target thickness, and expected thermal shrinkage. A common operational failure is selecting a press that matches exact raw bun dimensions, only to serve burgers that shrink significantly smaller than the bun during cooking.
Calculating Meat Shrinkage and Match to Bun Diameter
Ground beef shrinks as protein fibers contract, squeezing out water and melting renderable fat. The degree of shrinkage depends heavily on the lean-to-fat ratio:
90/10 Lean Meat: Shrinks roughly 10% to 12% in diameter; retains shape well but lacks rendering fat.
80/20 Standard Blend: Shrinks approximately 15% to 20% in diameter; provides ideal juice retention and classic flavor.
70/30 High-Fat Blend: Shrinks up to 25% to 30% in diameter; requires significant oversized forming to cover standard buns.
To ensure your cooked patty fills a standard 4-inch (10 cm) hamburger bun, the raw patty formed in your press must feature a larger starting diameter. Using an 80/20 blend, a raw mold diameter of 4.5 to 5 inches (11.4 to 12.7 cm) yields a finished, cooked burger that fits the bun perfectly without excessive overhang or undersized meat-to-bread ratios.
| Desired Cooked Diameter | Lean/Fat Ratio | Recommended Mold Diameter | Typical Raw Weight Range |
|---|---|---|---|
| 3.5 Inches (Slider) | 80/20 | 4.0 Inches | 2.0 – 2.5 oz (57 – 71 g) |
| 4.0 Inches (Standard) | 80/20 | 4.75 – 5.0 Inches | 4.0 – 5.3 oz (113 – 150 g) |
| 4.0 Inches (Standard) | 70/30 | 5.25 Inches | 5.0 – 6.0 oz (142 – 170 g) |
| 5.0 Inches (Pub Style) | 80/20 | 5.75 – 6.0 Inches | 7.0 – 8.0 oz (198 – 227 g) |
Portion Weights and Capacity Ranges
Many adjustable press models feature indexed vertical shafts, threaded plates, or mechanical shims to modify cavity depth while preserving diameter. The CHARD Better Burger Press handles portion sizes ranging from one-quarter to three-quarter pound and features dishwasher-compatible removable components. This flexibility allows operators to switch between thin fast-casual patties and thick pub-style burgers without buying separate tools.
Setting portion control on adjustable models requires measuring exact input weight before pressing. A common mistake is filling an adjustable cavity by eye until full, which introduces density variations. Weighing portion balls on a kitchen scale before placing them into the mold guarantees identical thickness and density across every burger formed.
Managing the Thickness-to-Doneness Cooking Variable
Patty thickness dictates internal heat transfer rates. A thin patty (1/4 inch / 6.3 mm) cooks primarily via rapid conduction from the outer surfaces to the center. Heat reaches medium-well doneness inside 2 to 3 minutes total cooking time. A thick patty (3/4 inch / 19 mm) relies on slower thermal conduction through a denser meat matrix.
THICK PATTY HEAT DRIFT (DOMING RISK): Un-dimpled: [ Surface Cooks ] --> ( Center Expands / Domes Up ) --> Uneven Center Dimpled: [ Surface Cooks ] --> ( Center Fills Surface Indentation ) --> Flat Finish
When thick patties heat up, moisture and steam within the core push outward against the surface crust, causing the center to swell upward into a rounded dome. This reduces contact with the cooking surface, leaving the center undercooked while the outer perimeter scorches. To correct this, select a press with an integrated central bulge or manually press a shallow indentation into the center of the raw patty. For instance, Weber's burger press design forms approximately 120 g and 220 g patties while creating a center dimple. As the meat contracts during cooking, the dimple expands outward, yielding a flat, level burger.
Materials, Coatings, and Patty Release Mechanisms
Material composition determines how long a burger press will last, how easily meat releases from the mold, and how simple it is to sanitize after a heavy shift.
Stainless Steel, Cast Aluminum, and Polymer Construction
Commercial burger presses primarily use three construction materials:
- 304 Stainless Steel: Highly durable and non-reactive. Stainless steel resists corrosion from acidic meat proteins, salt, and harsh commercial dishwasher chemicals. Heavy stainless steel griddle presses maintain high thermal mass, resisting warping when pressed against 400°F+ griddle tops.
- Cast Aluminum: Lightweight yet structurally rigid. Aluminum conducts heat quickly and provides an excellent strength-to-weight ratio for manual leverage presses. However, un-anodized aluminum can oxidize over time if washed with harsh alkaline detergents.
- Food-Grade Polymers (Heavy-Duty Plastics): Common in entry-level commercial units and consumer kitchen gear. High-density polyethylene (HDPE) or ABS plastics provide easy nonstick release and low material costs, though they are unsuitable for high-heat, on-griddle use.
Evaluating Removable Plates, Dimpled Cavities, and Ejection Systems
Removing a wet, sticky raw meat patty from a enclosed metal cylinder without destroying its circular edge requires an effective release mechanism. Vacuum suction easily locks raw ground beef into the bottom corner of a solid mold.
Commercial and high-end manual presses solve this vacuum effect using three design strategies:
Removable Bottom Plates: The bottom disc of the cavity sits loose inside the cylinder. After pressing, pushing up on the bottom disc forces the formed patty out of the housing intact.
Spring-Loaded Plungers: A top handle compresses internal springs during down-stroke shaping. When pressure is released, the spring lifts the plunger while an extraction plate pushes the patty downward out of the cylinder.
Textured Air-Release Channels: Micro-grooves or dimples etched into the pressing plate break surface tension and prevent vacuum seal formation, allowing air to bypass the edge during withdrawal.
Preventing Meat Sticking and Workflow Failure Modes
Even with nonstick coatings or ejection plates, raw ground meat sticking remains a top operational frustration. Hands-on testing by Food Network's burger press reviews showed that patties frequently stick in press cavities, suggesting wax paper liners, cooking spray, or inverting and shaking the tool.
+-----------------------------------------------------------------------------------+ | PATTY STICKING & TROUBLESHOOTING | +-----------------------+----------------------------------+------------------------+ | ISSUE | ROOT CAUSE | CORRECTION PROTOCOL | +-----------------------+----------------------------------+------------------------+ | Patty Tears on Lift | Suction vacuum / High fat bind | Use wax paper sheets | +-----------------------+----------------------------------+------------------------+ | Shredded Outer Edges | Over-pressing past depth capacity| Adjust stop pin/depth | +-----------------------+----------------------------------+------------------------+ | Center Swelling | Steam buildup / Lack of dimple | Use dimpled press disc | +-----------------------+----------------------------------+------------------------+ | Metal Surface Tarnish | Alkaline dish detergent on alum. | Hand wash / Hand dry | +-----------------------+----------------------------------+------------------------+
For continuous bulk production, utilizing wax or parchment patty paper dividers is standard practice. Placing a sheet of patty paper in the bottom cavity before adding meat, along with another sheet on top, prevents the raw beef from coming into direct contact with metal plates. This setup enables high-speed batching, letting operators stack dozens of pressed patties in prep drawers without them fusing together.
Kitchen Integration, Grinding, and Sanitation
Maximizing raw product quality requires controlling temperature and meat handling from the moment whole muscle cuts are ground through final patty portioning.
Integrating Grinding and Portioning into Kitchen Workflow
For high-volume kitchens, preparing meat in-house unlocks complete control over fat blend, coarse texture, and freshness. Using an electric meat grinder to process chilled chuck, brisket, or short rib through a 3/8-inch (9.5 mm) grinding plate establishes the ideal foundation for mechanical patty pressing.
RAW MEAT PREPARATION & PRESSING WORKFLOW: [ Cold Muscle Cuts (32°F - 34°F) ] │ ▼ [ Grind via Electric Meat Grinder ] │ ▼ [ Portioned Meat Balls (Weighed) ] │ ▼ [ Molded via Burger Press with Liners ] │ ▼ [ Stacked in Chilled Prep Drawer (36°F) ]
Temperature control during processing is critical. Ground meat fat softens quickly at room temperature. If meat warms above 40°F (4°C) during pressing, room-temperature fat coats muscle proteins, creating a mushy texture when cooked. Keeping meat chilled between 32°F and 36°F (0°C to 2°C) throughout grinding and pressing ensures clean fat definition and structural stability inside the mold.
Maintenance, Cleaning, and Sanitation Protocol
Because raw ground meat leaves behind fats, protein film, and moisture in crevices, burger presses require thorough sanitation to prevent bacterial growth:
- Complete Disassembly: Remove thumbscrews, springs, plungers, and base plates. Leaving springs or shaft bushings assembled traps raw meat juices inside mechanical threads.
- Degreasing Wash: Soak metal components in hot water (minimum 110°F / 43°C) with food-grade degreasing detergent to break down heavy animal fats.
- Sanitizing Rinse: Submerge sanitized components in approved chemical sanitizing solution (quaternary ammonium or chlorine rinse) or process through a commercial dishwasher high-temp final rinse.
- Complete Drying: Allow metal components, especially cast aluminum and spring assemblies, to air-dry completely before reassembling. Trapped moisture inside plunger housings causes internal corrosion and mechanical binding.
Frequently Asked Questions
What is the primary difference between a patty mold and a griddle press?
A patty mold shapes cold, raw ground meat into uniform circular patties prior to cooking, focusing on consistent thickness, weight, and portion control. A griddle press is a heavy-gauge, heat-resistant metal weight used directly on a hot cook surface to smash meat balls or apply pressure to foods while cooking.
How do I prevent raw meat from sticking inside my burger press?
Using pre-cut wax paper or parchment patty sheets on the top and bottom of the meat ball before pressing creates a physical barrier that eliminates sticking. Alternatively, applying a light coat of high-smoke-point oil to the mold plates or choosing a press with a removable bottom lift plate helps extract patties cleanly.
What diameter burger press should I buy for standard hamburger buns?
Because an 80/20 ground beef blend shrinks roughly 15% to 20% during cooking, select a raw patty press with a diameter of 4.5 to 5.0 inches (11.4 to 12.7 cm). This ensures the finished, cooked patty shrinks down to fit a standard 4-inch bun perfectly.
Why does my burger swell up into a ball in the middle while cooking?
As ground beef heats up, moisture converts to steam within the core, causing protein structures to expand upward. To prevent this doming effect, press a shallow indentation or dimple into the center of the raw patty, or choose a press with an integrated center bulge.
Can I put my burger press in a commercial dishwasher?
Stainless steel and high-density plastic presses are fully dishwasher safe. Cast aluminum presses should be checked against manufacturer instructions; un-anodized aluminum can oxidize, darken, or pit when exposed to harsh alkaline commercial dish detergents.
Should I keep pressing down on my burger while it cooks on the griddle?
No. Heavy downward pressure should only be applied within the first 10 to 15 seconds after placing cold meat on the griddle surface. Pressing the burger after the meat has warmed and started cooking forces out hot rendered juices and rendered fat, resulting in a dry patty.
How much meat should I weigh out for a standard quarter-pound press cavity?
For a standard quarter-pound (4 oz / 113 g) raw patty, weigh out exactly 4.0 ounces of ground meat on a kitchen scale before placing it into the cavity. Avoid overfilling the press past its maximum depth setting to prevent meat from squeezing out around the edges.
Sources and References
Weber: Weber Burger Press
Krampouz: Krampouz Stainless Steel Burger Press
Napoleon: Napoleon Gourmet Burger Press Kit
Food Network: Best Burger Presses Reviewed
CHARD: CHARD Better Burger Press
Recent Posts

Leave a Comment
Your email address will not be published. Required fields are marked *