




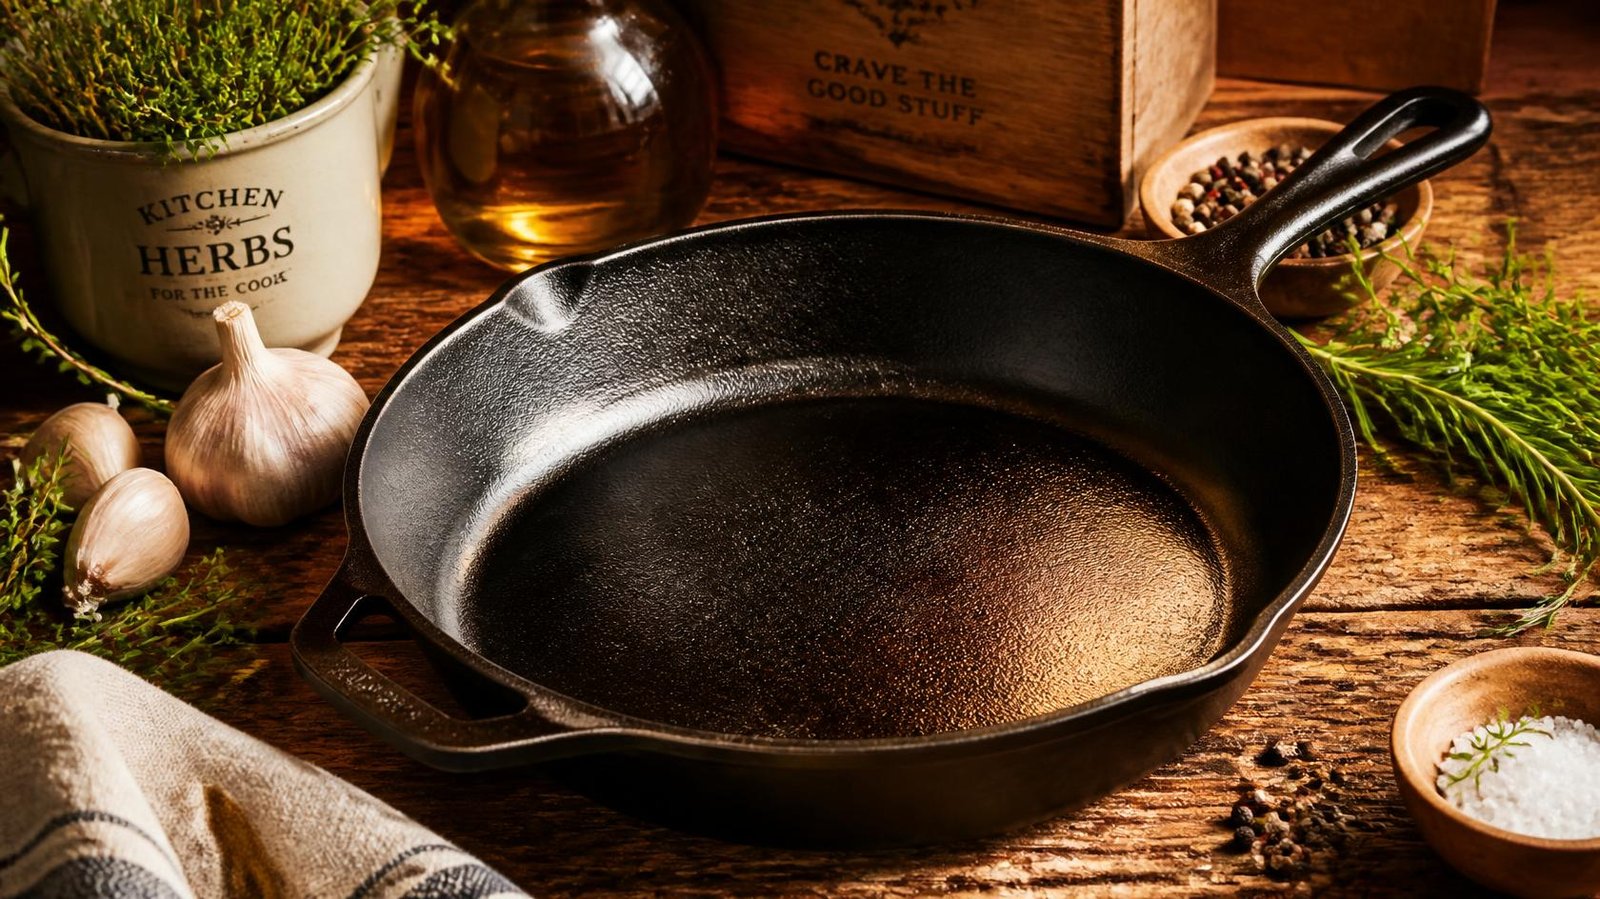
Cast Iron Skillet Care, Cooking, and Seasoning Guide
A cast iron skillet can handle a crackling chicken thigh, a deeply browned steak, a cornbread crust, and a bubbling oven dessert in the same piece of cookware. Its appeal is simple: it holds heat well, moves from stovetop to oven, and can develop a useful seasoned surface over time. The tradeoff is moisture control and a little more attention to heat management.
Table of Contents
- Key Takeaways
- What Makes a Cast Iron Skillet Different
- Seasoning, Cleaning, and Rust Prevention
- How to Cook Successfully in Cast Iron
- Cast Iron Skillet FAQ
- Sources and References
Key Takeaways
The short version
A cast iron skillet is best when you need steady heat, strong browning, oven compatibility, and a pan built for years of regular cooking. It is not automatically as slick as a modern nonstick pan, and it should not be left wet after washing.
The habits that matter most
- Preheat patiently over moderate heat instead of blasting the burner.
- Use enough cooking fat for the food and technique, especially with eggs, fish, and lean proteins.
- Dry the skillet immediately after washing, then use brief stovetop heat if needed to remove hidden moisture.
- Keep the oil layer thin when seasoning. Thick oil can turn sticky, smoky, or flaky.
- Remove rust before re-seasoning. Oil applied over rust does not restore the surface.
- Avoid prolonged cooking or storage of acidic foods in bare, uncoated cast iron.
What Makes a Cast Iron Skillet Different
Heat retention is the main advantage
Cast iron is valued less for instant responsiveness and more for heat retention. Once the pan is thoroughly preheated, its thick, heavy material resists sudden temperature drops. Add a cold burger patty or a handful of mushrooms, and the skillet is more likely to stay hot enough to brown rather than immediately steam the food.
That makes it especially useful for techniques where surface contact matters:
- Searing steaks, chops, burgers, and sausages
- Browning chicken skin before finishing in the oven
- Frying potatoes, fritters, or shallow-fried foods
- Baking cornbread, cobblers, Dutch babies, and skillet cookies
- Building sauces after browning onions, meat, or aromatics
The same strength can become a limitation. Cast iron takes time to heat and cool, so it is less forgiving when a burner is too high. A thin stainless steel pan may react quickly when you lower the heat; a hot cast iron skillet keeps delivering stored energy. For delicate fish, crepes, or eggs, moderate preheating is usually more useful than maximum heat.
Seasoning is a working surface, not permanent nonstick coating
On bare cast iron, seasoning is the heat-cured layer of oil that bonds to the metal over repeated use and maintenance. It helps protect the iron from moisture and can improve food release. It is not the same as a factory-applied nonstick coating, and it should not be expected to make every food slide without attention.
A well-maintained skillet may release fried eggs nicely when it is properly preheated and lightly oiled. The same skillet can still grab cold eggs in a dry pan, scorch butter over excessive heat, or stick when food is moved before it has naturally browned and released.
A seasoned cast iron skillet performs best when seasoning, temperature, timing, and cooking fat work together. Seasoning alone cannot correct poor heat control.
Community discussions about persistent sticking commonly point to heat management and oil as immediate causes, even when the pan has been seasoned repeatedly. That is a practical distinction worth keeping in mind before stripping and re-seasoning a skillet that may simply be running too hot or too cool.
Bare, pre-seasoned, and enameled cast iron serve different needs
The best choice depends on what you cook, how much maintenance you want, and whether acidic recipes are frequent.
| Type of skillet | Best fit | Advantages | Watch for |
|---|---|---|---|
| Bare cast iron | Searing, frying, baking, everyday high-heat cooking | Durable, oven-friendly, develops seasoning | Needs drying and moisture control |
| Pre-seasoned cast iron | Cooks who want to start sooner | Existing initial seasoning layer | Still requires washing, drying, and upkeep |
| Enameled cast iron | Braises, sauces, soups, acidic recipes | Easier surface maintenance and useful for wet cooking | Enamel care differs from bare cast iron |
| Stainless steel skillet | Fast adjustments and pan sauces | Responsive heat control, no seasoning routine | Food can stick without technique and fat |
| Modern nonstick skillet | Delicate, low-fat cooking | Easy release at lower heat | Usually less suitable for aggressive high-heat searing |
For Canadian kitchens, there is one important boundary: Health Canada advises avoiding prolonged cooking or storage of acidic foods in uncoated cast iron cookware. A quick tomato-based pan sauce is different from leaving tomato stew or rhubarb compote in a bare skillet for hours or storing it there overnight. If long-simmered acidic dishes are routine, an enameled pot or another nonreactive pan is often the simpler option.
Seasoning, Cleaning, and Rust Prevention
How to season a new or restored skillet
Seasoning works because a very thin layer of oil is heated until it forms a hard, protective film. The word thin does most of the work here. A skillet should look lightly polished, not wet, greasy, or pooled with oil.
Use a neutral cooking oil with a mild flavor, such as vegetable, canola, or sunflower oil. Safeway Canada’s cast iron guidance describes using a thin layer of neutral oil and seasoning at approximately 450°F, or 230°C. Manufacturer instructions should still take priority for a specific skillet.
A practical seasoning workflow looks like this:
- Wash the skillet if needed to remove dust, residue, or loose debris.
- Dry it thoroughly with a towel. Warm it briefly on the stovetop if any moisture remains around the handle, rim, or pour spouts.
- Apply a small amount of oil to the entire cooking surface, exterior, and handle if the product instructions allow it.
- Wipe again with a clean towel until the oil film is extremely thin. If the surface looks slick or streaky, keep wiping.
- Heat the skillet in the oven following its manufacturer guidance. Placing it upside down can help prevent oil from pooling, with a baking sheet below to catch drips.
- Let it cool safely, then repeat only if the surface still looks patchy or unprotected.
Fair warning: seasoning temperatures and times vary. One guide may call for around 450°F, while another may specify a lower temperature for a longer bake. For example, Costco’s Smith & Clark skillet instructions specify re-seasoning at 350°F for two hours. That variation is a reason to check the instructions for the exact product rather than treating one online method as universal.
Cleaning without overcorrecting
A cast iron skillet should be cleaned soon after it has cooled enough to handle safely. Warm water, a brush, pan scraper, or nonmetal scrubber are often enough for routine residue. For stuck food, coarse kosher salt can provide gentle abrasion when rubbed with a towel or scrubber.
Soap advice is less absolute than many cooks expect. Product instructions differ on detergents, steel wool, and stronger abrasives. Some manufacturers discourage degreasing cleaners and steel wool because they can strip seasoning, while other practical cooking guides allow more assertive scrubbing for stuck-on food. The sensible rule is to follow the skillet manufacturer’s care instructions first, then use the mildest method that removes the residue.
If food is merely browned onto the surface, try this sequence before reaching for harsh abrasion:
- Add a little water to the warm skillet.
- Heat gently until the residue loosens.
- Scrape with a wooden spatula, silicone scraper, or suitable pan tool.
- Wash away loosened debris.
- Dry immediately and apply a nearly invisible oil film if the surface looks dry.
This approach is useful because it removes food without treating every stuck bit as seasoning failure. A dark fond from searing is often normal; black flakes, gummy residue, or rough corrosion are different problems.
Drying is rust prevention, not a finishing touch
Moisture is the enemy of bare cast iron. Towel drying removes visible water, but residual moisture can remain near the rim, handle joint, and textured parts of the cooking surface. A brief period of low stovetop heat after towel drying helps evaporate that hidden moisture.
Do not rely on air drying. The Costco product instructions specifically say to towel-dry promptly and not allow the skillet to air dry. That distinction matters because a skillet can appear dry while moisture remains in small surface irregularities.
After heating, let the skillet cool enough to handle, then wipe on a tiny amount of oil if needed. The goal is a soft sheen, not an oily layer. Excess oil can become tacky during storage and may smoke heavily during the next use.
Restoring rust, flaking seasoning, or a sticky surface
Rust is usually recoverable. The key is sequence: remove corrosion first, then rebuild protection. Re-seasoning over orange or reddish-brown rust traps the underlying problem rather than solving it.
| Problem | Likely cause | Best first response | When to re-season |
|---|---|---|---|
| Light rust spots | Water left on the skillet | Scrub rust away, wash, dry with heat | After bare metal is exposed |
| Food sticking | Heat too low, too high, little fat, or premature flipping | Adjust preheat and cooking fat | Only if seasoning is visibly damaged |
| Tacky surface | Oil applied too heavily | Wipe clean and heat gently | If tackiness persists after cleaning |
| Flaking black patches | Uneven buildup or damaged seasoning | Remove loose material and clean | Rebuild thin layers as needed |
| Rough, bare areas | Abrasion, rust removal, or worn seasoning | Clean and dry fully | Yes, protect exposed iron |
For rust that is more than a light spot, scrub until the corrosion is gone, rinse away debris, dry thoroughly with heat, and season the exposed area or the full skillet. If deep pitting, cracking, or structural damage is present, replacement may be safer than restoration.
How to Cook Successfully in Cast Iron
Preheat with intention
The simplest way to improve cast iron cooking is to slow down the start. Place the empty skillet over low to medium heat for several minutes, then add oil once the pan is warm. This reduces the chance of a hot center and cooler edges, especially on powerful burners.
For a steak, moderate preheating followed by oil and a dry, well-patted protein helps build browning. For eggs, use a lower setting, allow the pan to warm gradually, and add enough butter or oil before the eggs go in. The skillet does not need to smoke to be ready.
Signs that heat is off include:
- Food immediately blackens while remaining pale or undercooked inside.
- Butter burns before eggs are added.
- Chicken skin sticks hard when you try to turn it too soon.
- Vegetables release water and sit in a gray, steamy layer instead of browning.
- Oil smokes heavily before food touches the pan.
Let food release before forcing it
Proteins often stick briefly at the start of cooking, then release as browning develops. Trying to pry a chicken thigh free after thirty seconds can tear the skin; waiting until the crust forms often allows it to lift more easily.
This does not mean every stuck food should be ignored. If eggs glue themselves to the surface, the pan may be too cool, too hot, too dry, or insufficiently seasoned for that task. If fish sticks repeatedly, consider a better-suited pan for delicate fillets or use a generous fat layer and a wide fish spatula.
Use the oven as part of the technique
A cast iron skillet is particularly useful for two-stage cooking. Start on the stovetop to brown, then transfer to the oven to finish evenly. This works well for thick pork chops, bone-in chicken, frittatas, cornbread, and skillet desserts.
Always confirm that the handle, helper handle, and any accessory are oven-safe for the temperatures you plan to use. The handle stays hot long after the skillet leaves the oven, so use a dry mitt or handle cover consistently. A folded towel left near the pan can be mistaken for a pot holder, then become a burn hazard if it touches a hot burner.
Choose the right pan for the recipe
Cast iron is versatile, but it does not have to do every job. A stainless steel skillet may be easier for a quick lemon pan sauce. A nonstick pan may be more practical for fragile omelets. An enameled pot may be the better choice for a long tomato braise.
The most useful kitchen setup is rarely one-pan-only. Use the cast iron skillet where its weight, heat retention, and oven capability create a real advantage.
Cast Iron Skillet FAQ
Is a cast iron skillet naturally nonstick?
Not in the same way as a modern coated nonstick pan. A seasoned surface can become increasingly easy to cook on, but food release still depends on preheating, oil, moisture, and timing. Eggs and fish are possible in cast iron, but they demand more attention than in a dedicated nonstick skillet.
Can I use soap on a cast iron skillet?
Check the manufacturer’s directions. Mild soap may be acceptable for some skillets, while some product instructions discourage detergents that remove oil from the seasoned surface. Avoid assuming that every pan needs the same cleaning method, especially if it has a specialty finish or enamel coating.
Why is food sticking to my cast iron skillet?
Start with heat and fat before blaming seasoning. A skillet that is underheated can grab food; one that is overheated can burn oil and create stubborn residue. Add oil or butter at the right temperature, avoid crowding the pan, and let proteins brown before turning them.
How often should I season cast iron?
Season when the surface looks dry, patchy, rusty, or stripped after aggressive cleaning. Routine cooking with oil and prompt drying may reduce the need for full oven seasoning. A light post-wash oil wipe is often enough between deeper maintenance sessions.
Can I cook tomatoes in a cast iron skillet?
Short cooking is generally different from prolonged simmering or storage, but bare cast iron is not the best choice for extended acidic cooking. Health Canada specifically advises avoiding prolonged cooking or storage of acidic foods in uncoated cast iron. Use enameled cast iron, stainless steel, or another nonreactive vessel for long tomato sauces, rhubarb, or similar dishes.
Can a rusty cast iron skillet be restored?
Often, yes. Scrub away all visible rust, wash off debris, dry completely with towel and heat, then apply a very thin oil layer and re-season. Ordinary surface rust is usually a maintenance issue. Deep pitting, cracks, or damage that affects the structure of the pan deserves closer inspection.
Why is my seasoning flaking or sticky?
Flaking can happen when old seasoning builds unevenly or when loose material remains under a new layer. Stickiness often points to too much oil. Clean away unstable residue, dry the skillet, then rebuild with thinner coats rather than adding another heavy layer.
Sources and References
Recent Posts
Leave a Comment
Your email address will not be published. Required fields are marked *